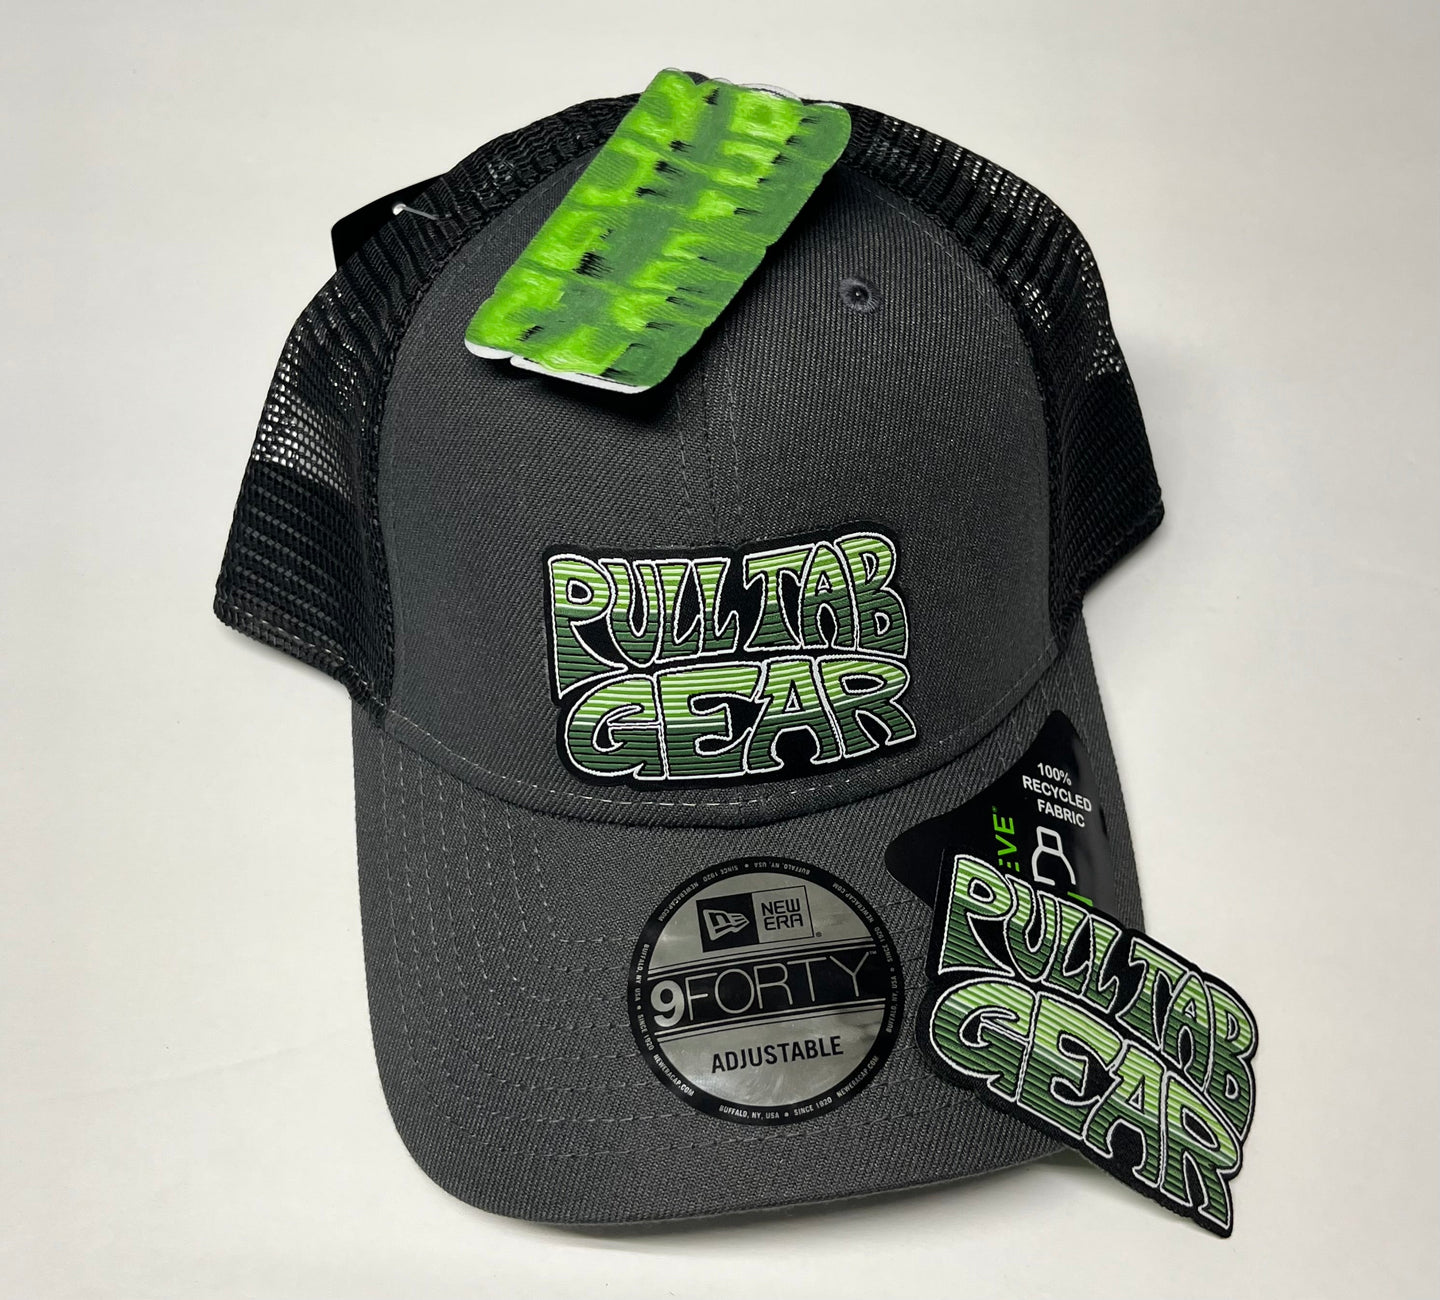
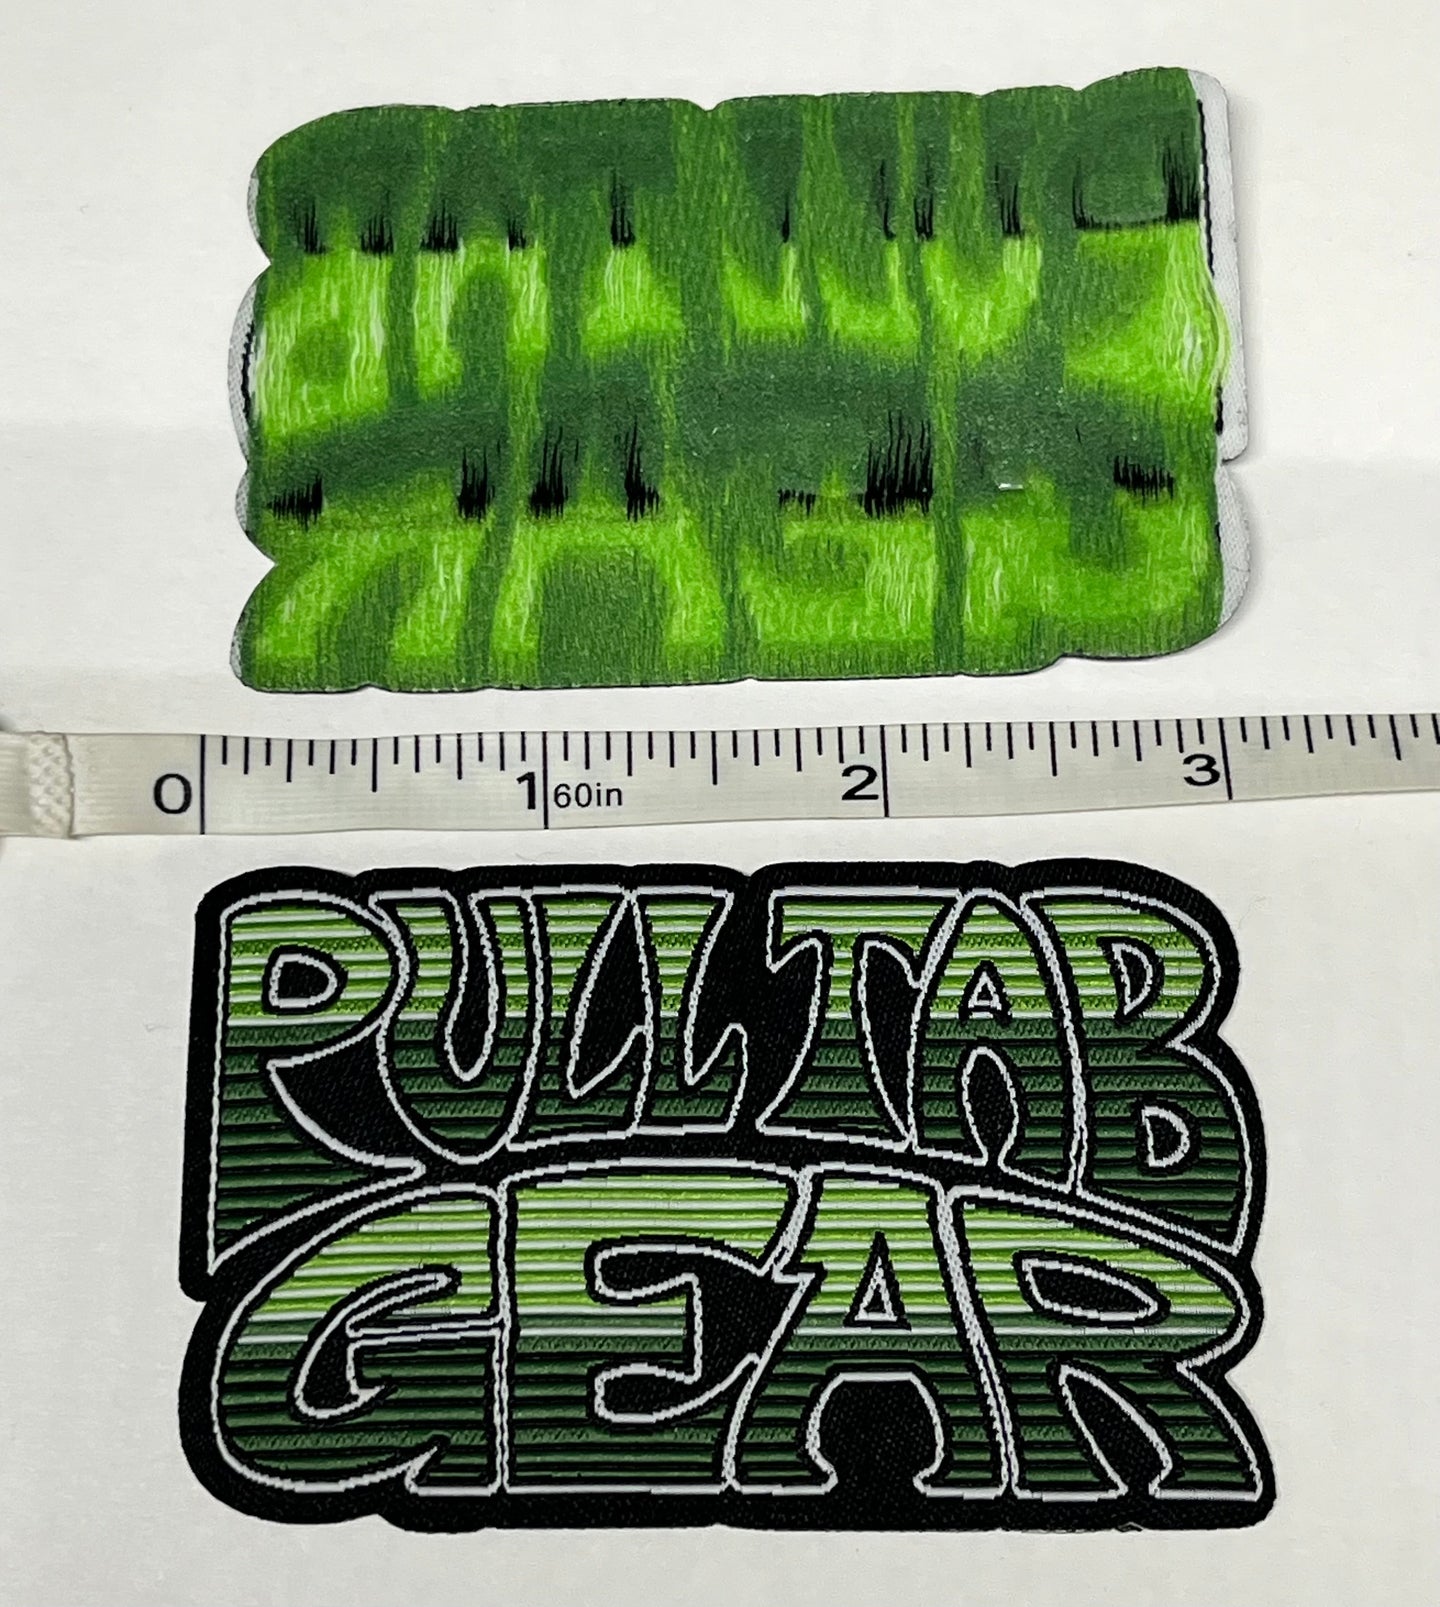
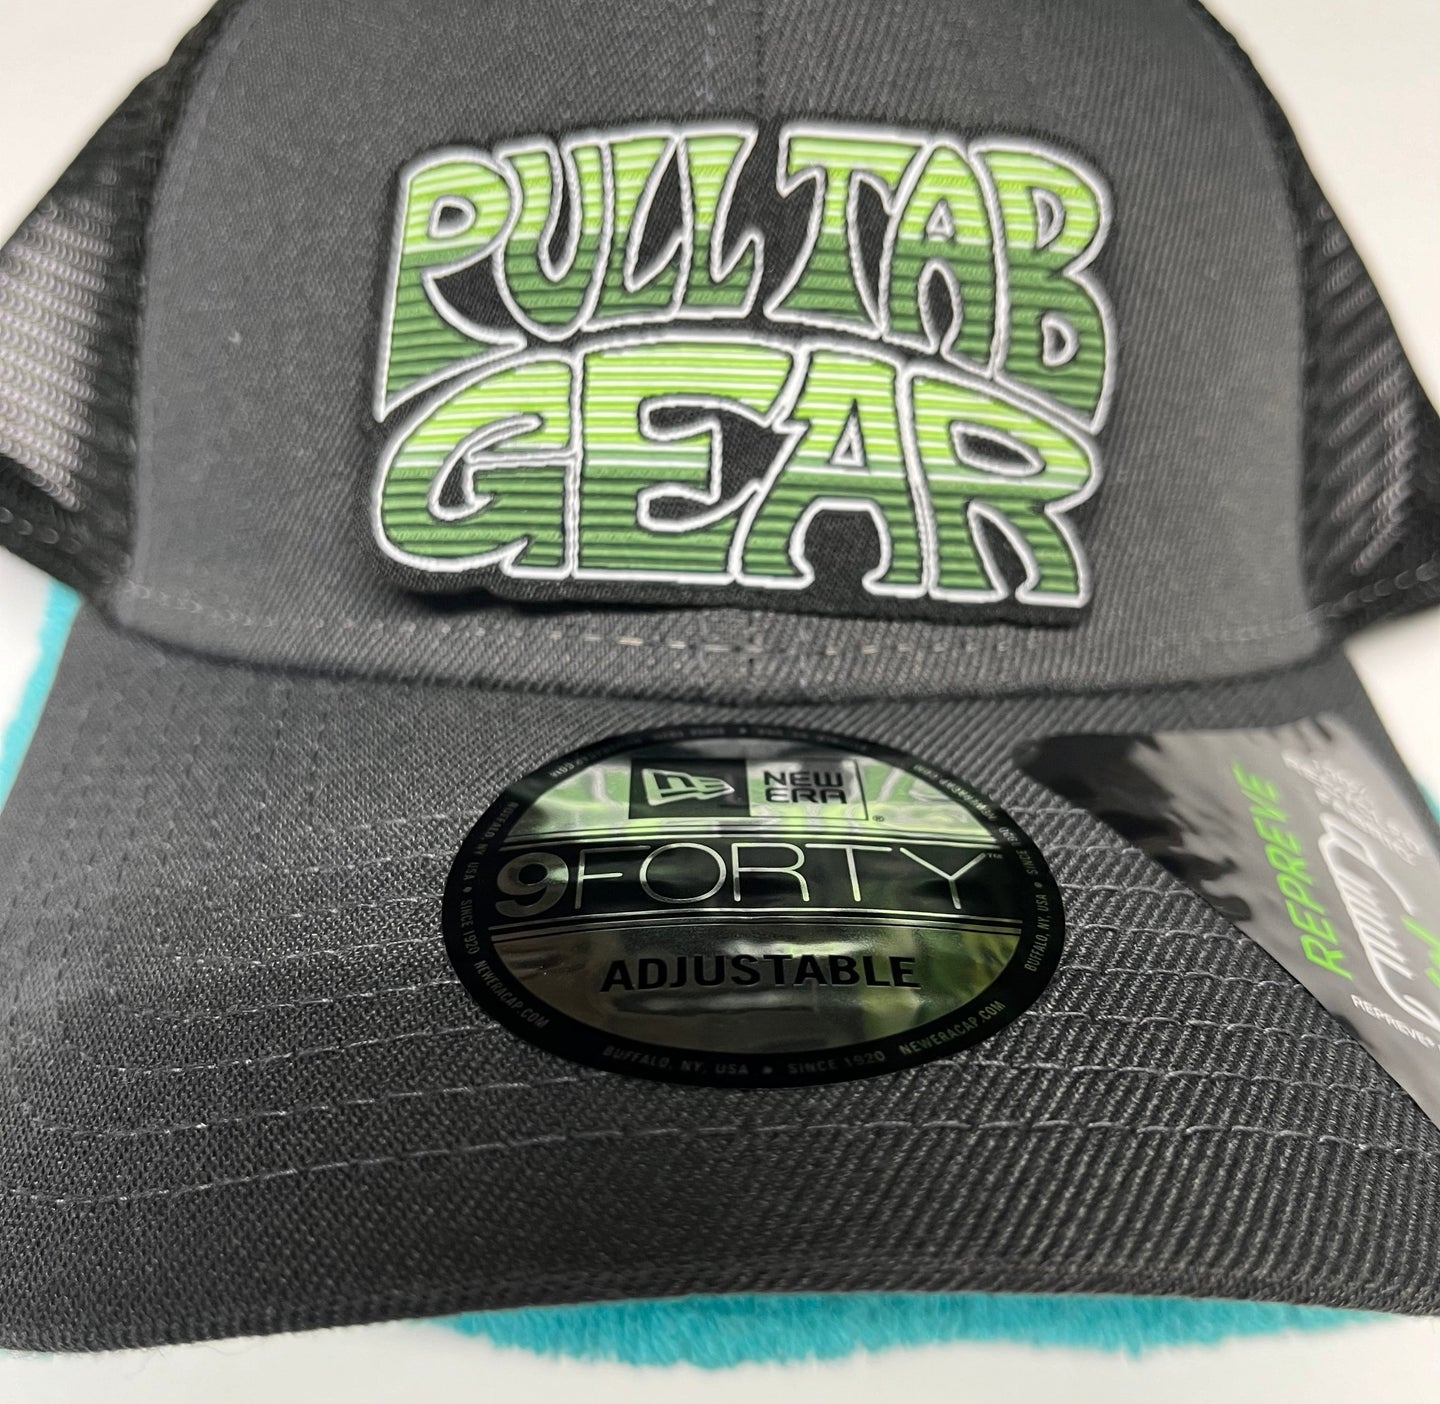
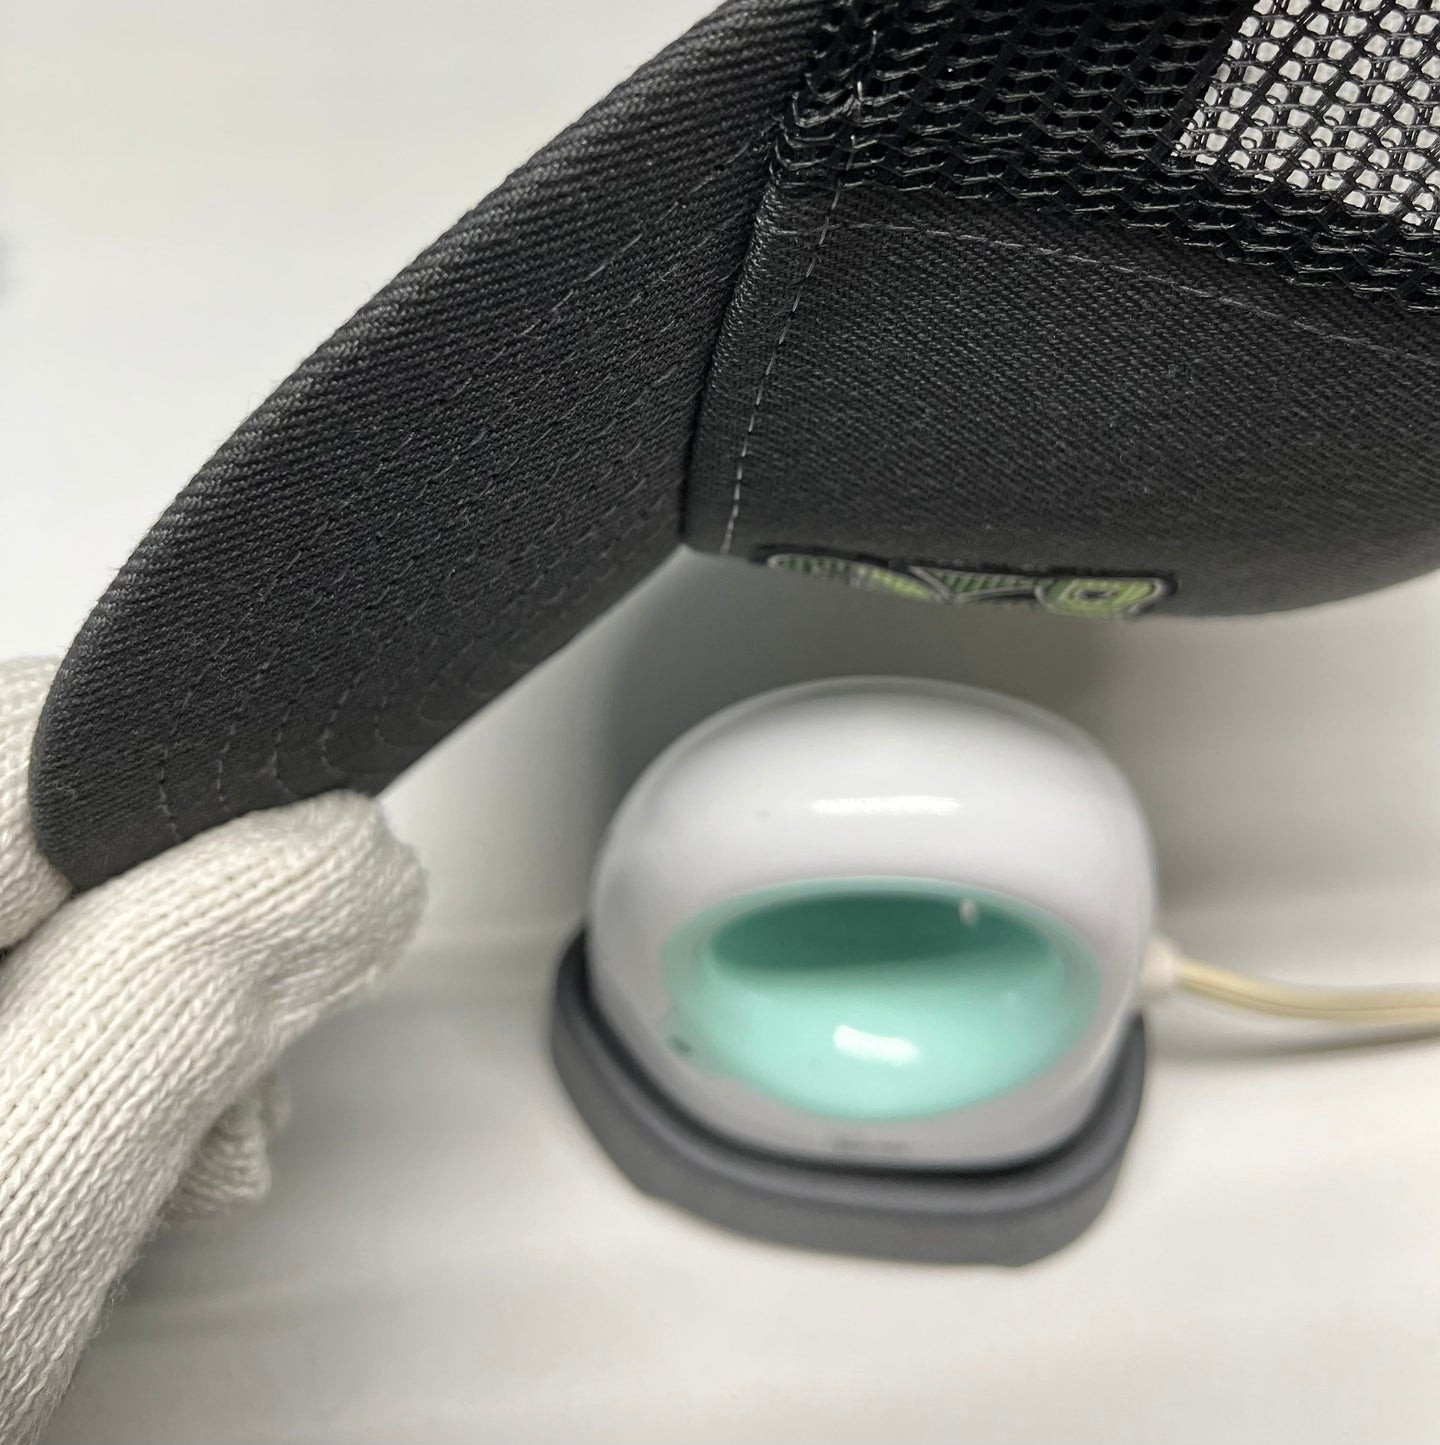
PULL TAB GEAR Iron on, Woven Patch (Hat not included)
These easy to apply woven patches are available for sale individually or you can take a look at our Swag 4 pack bundle which also includes 3 window decals at a discounted price.
To apply the patch to hats, bags, jackets etc…Follow these steps.
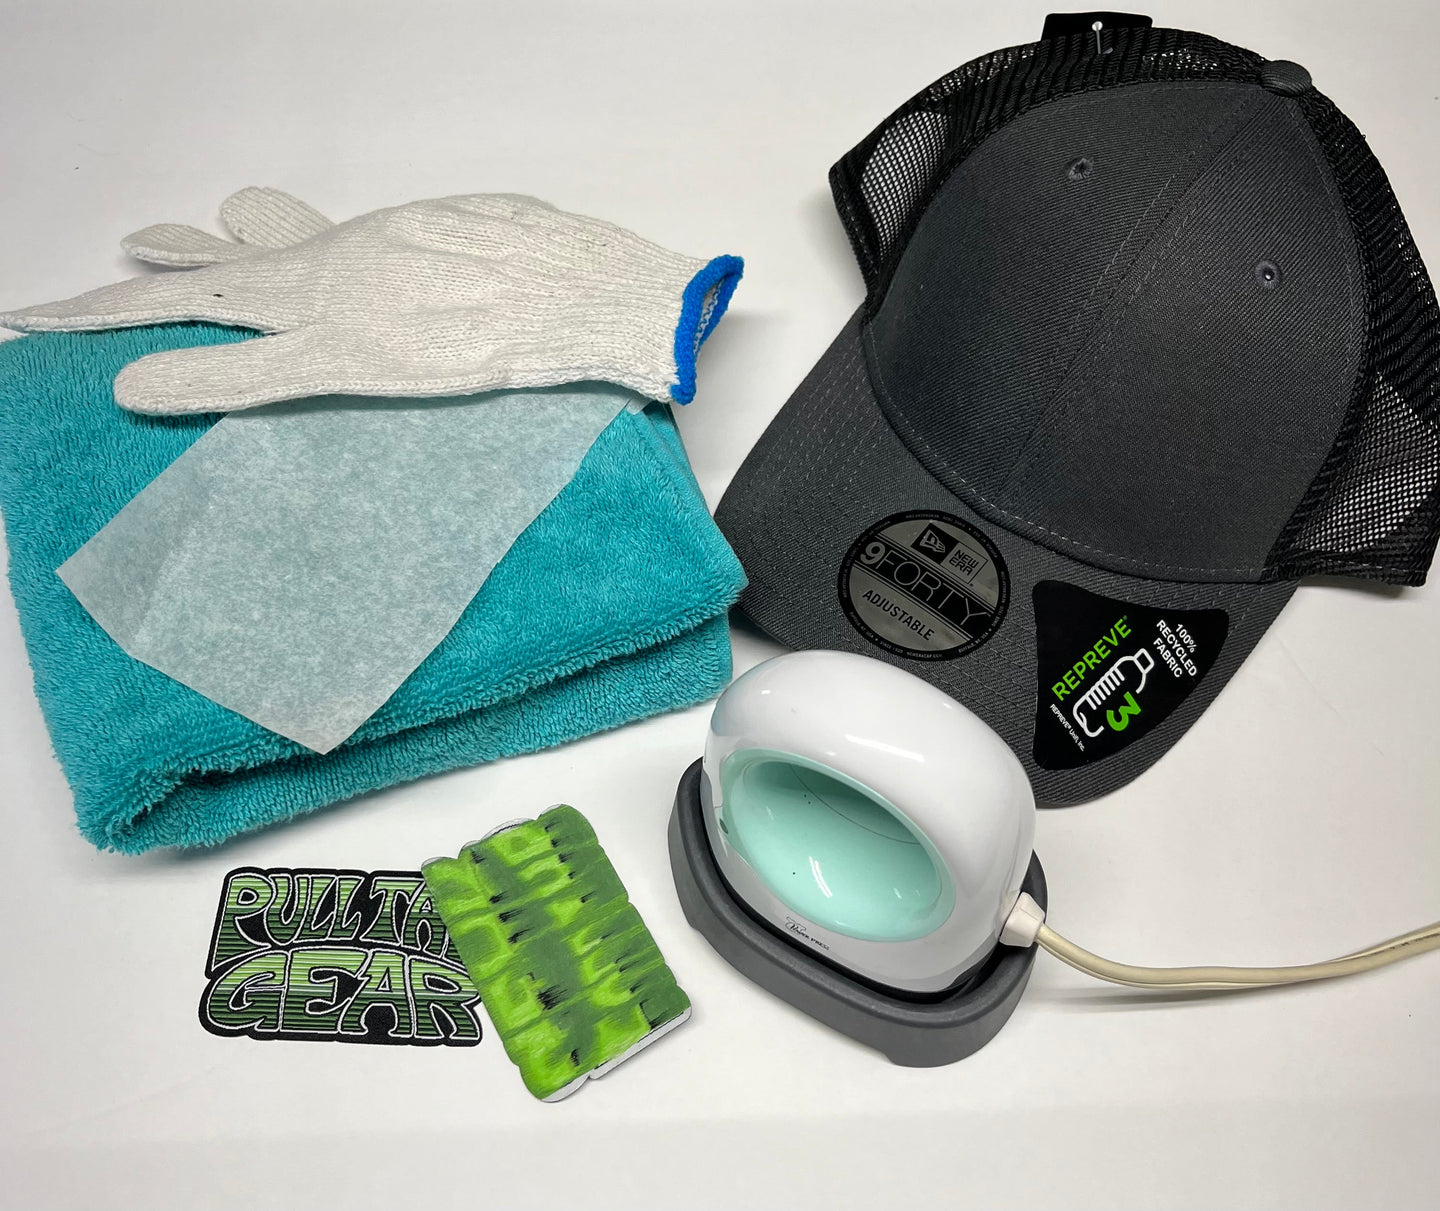
1. Find an iron that has an option to turn off the steam setting. Temperature should be between medium to high heat.
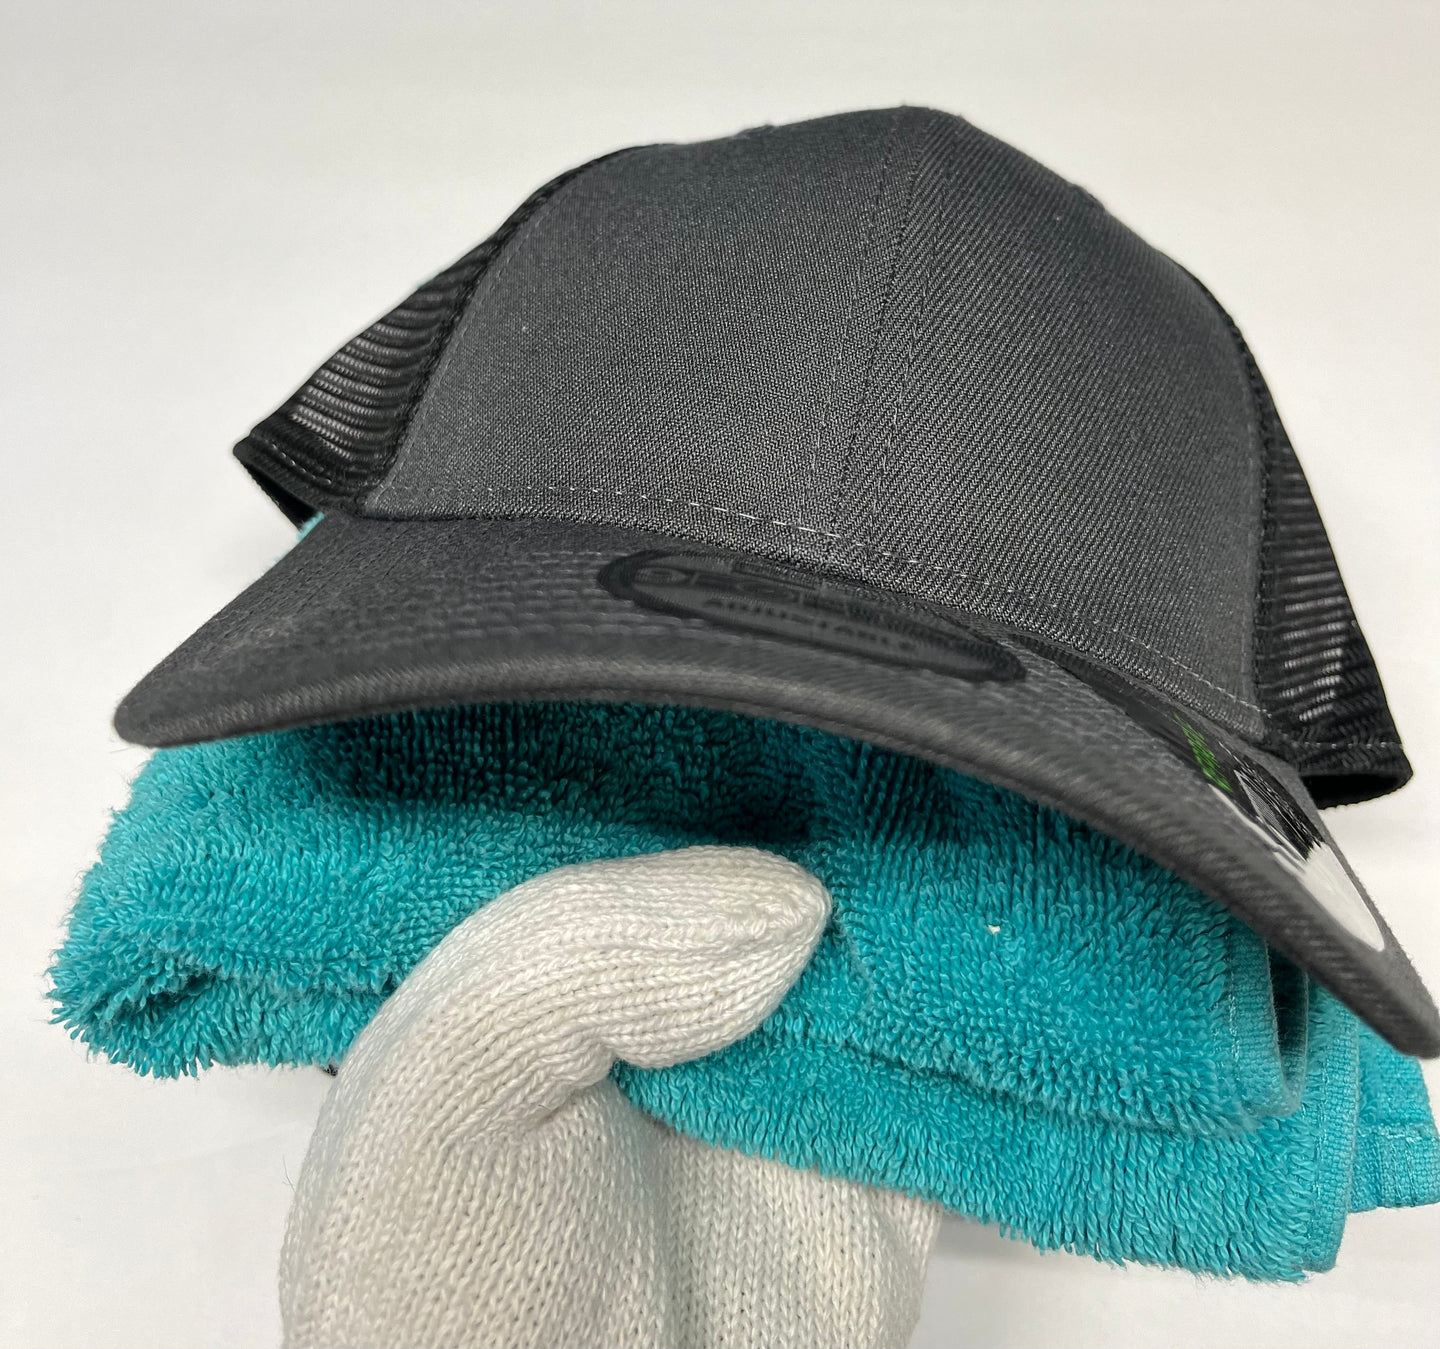
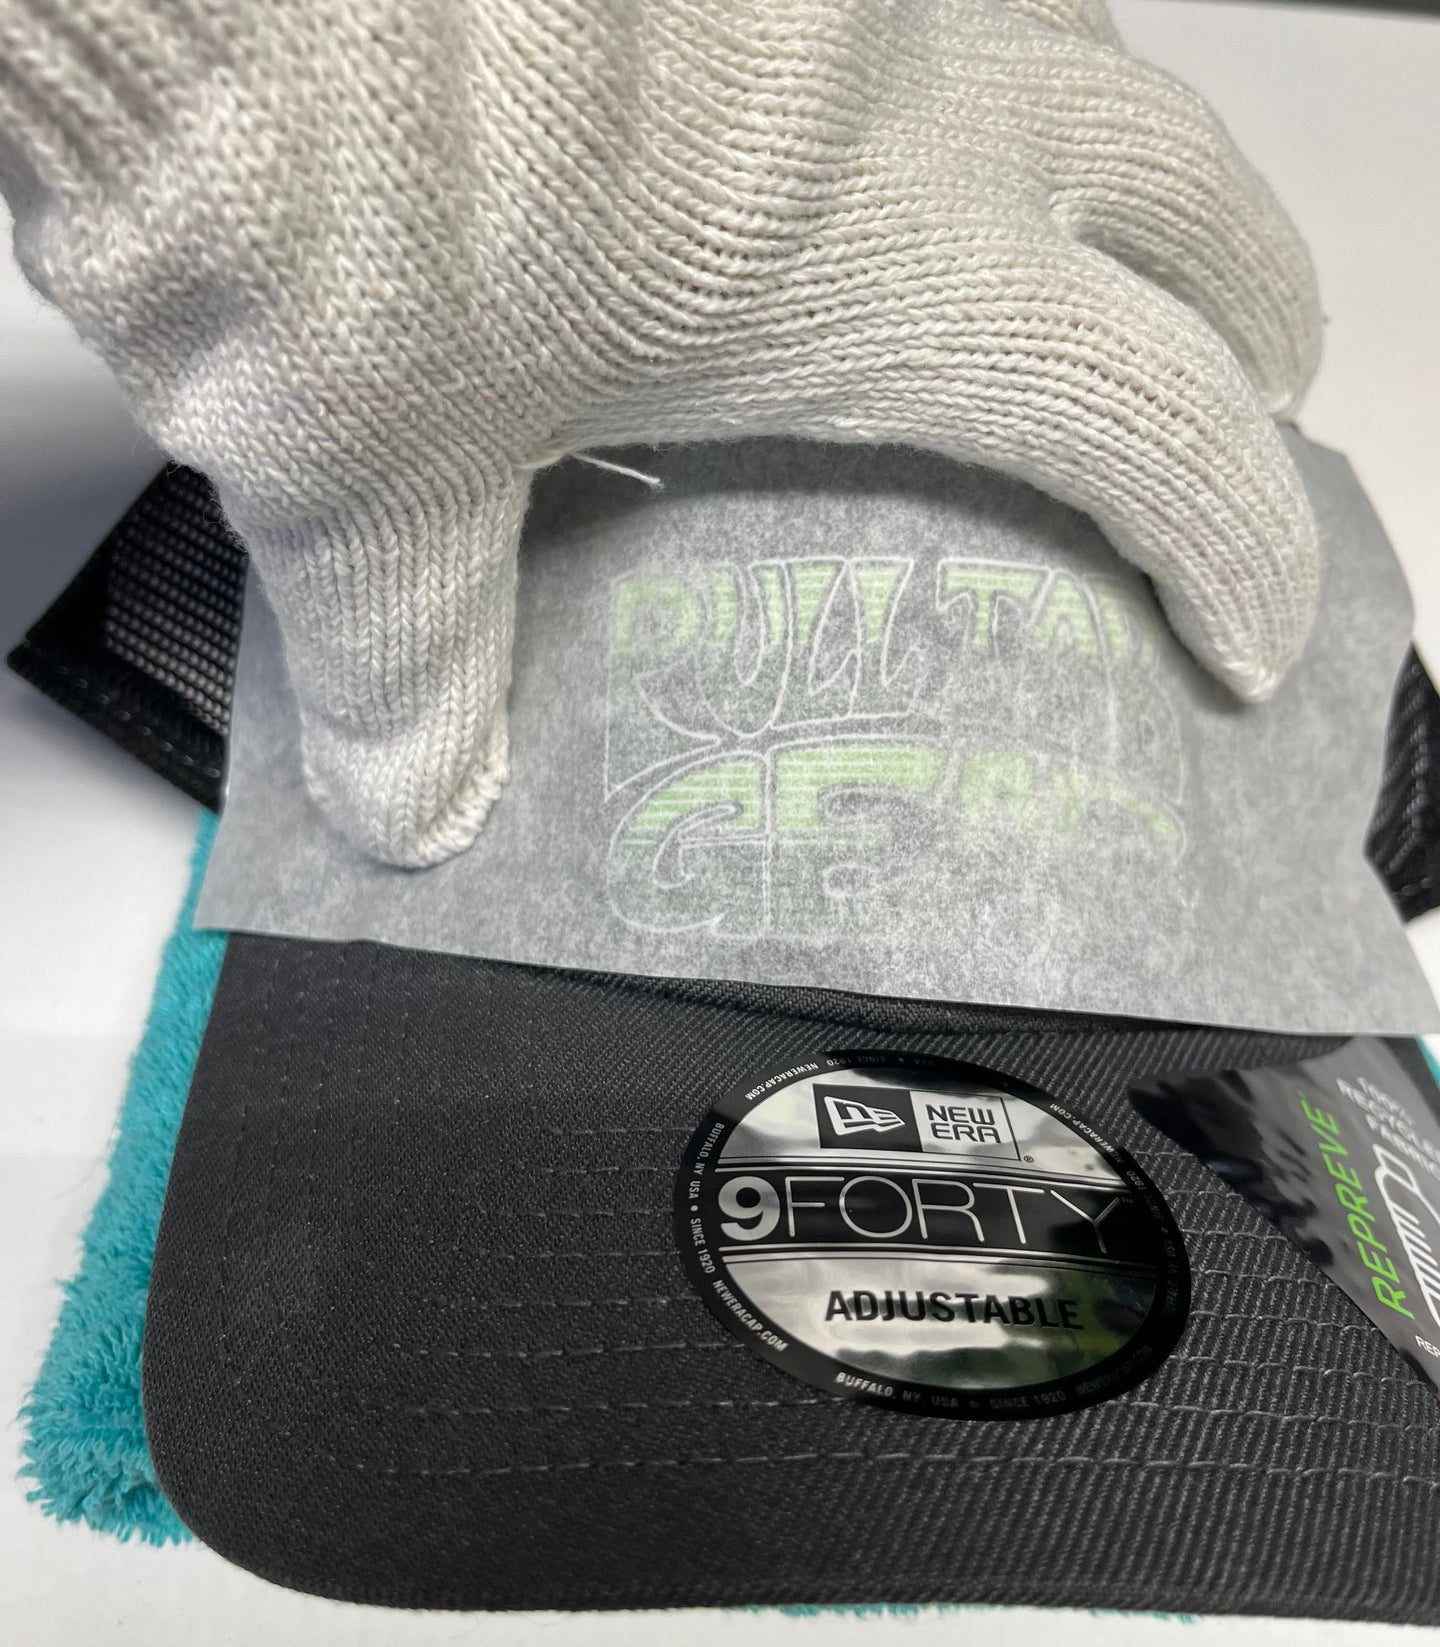
2. Position the patch where you would like it to be permanently placed. While holding the patch firmly to keep position, place a piece of parchment paper (baking sheet) on top while keeping the patch in place.
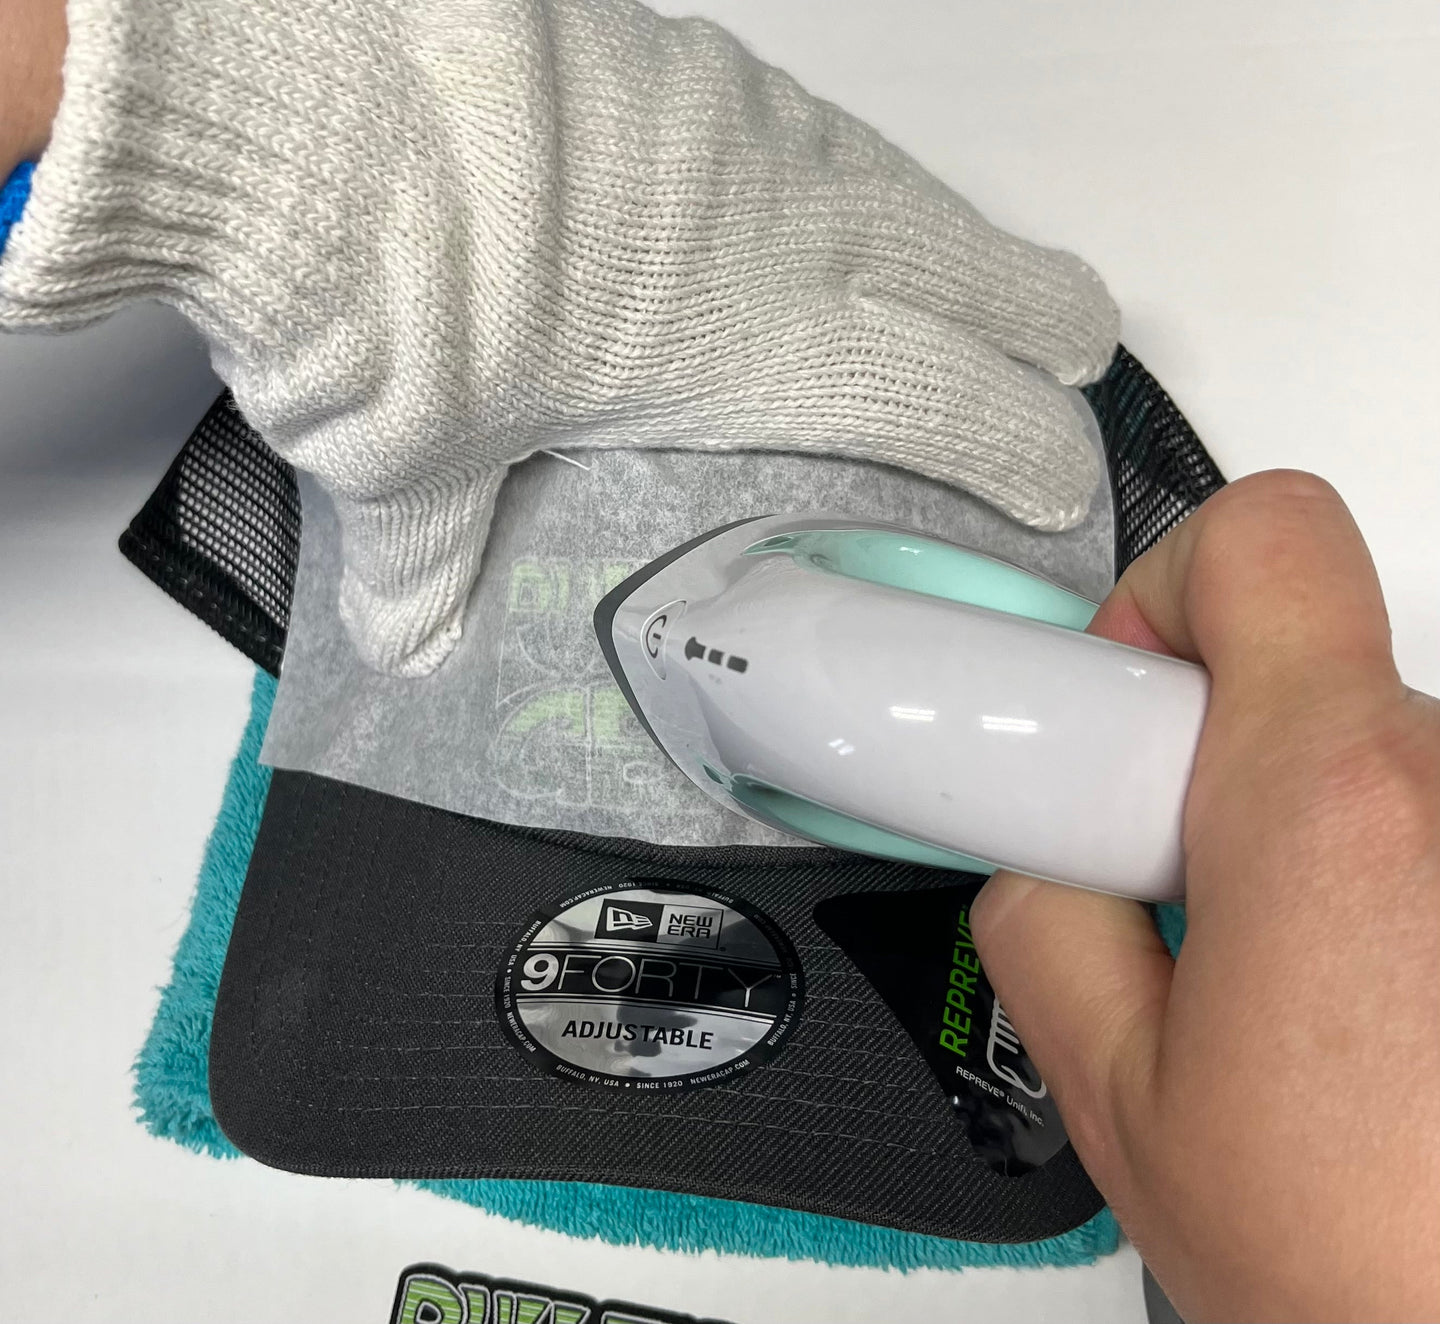
3. Before you press and apply heat, double check that the patch has not shifted, once you apply heat, you won’t be able to move the patch. Make sure to protect your hands with heat resistant gloves and keep your fingers away from the heating element.
4. Once your iron is hot and your patch is positioned, you are ready to PRESS the iron on the parchment (you may need to press multiple sections of the patch on rounded surfaces like hats. Note: Glue from the patch can spread if you push the iron, so just press, do not glide. Pressing time can vary depending on the fabric it’s being applied to, between 15-20 seconds should be sufficient. Or 10 second intervals after 20 if it needs more time. All fabric varies.
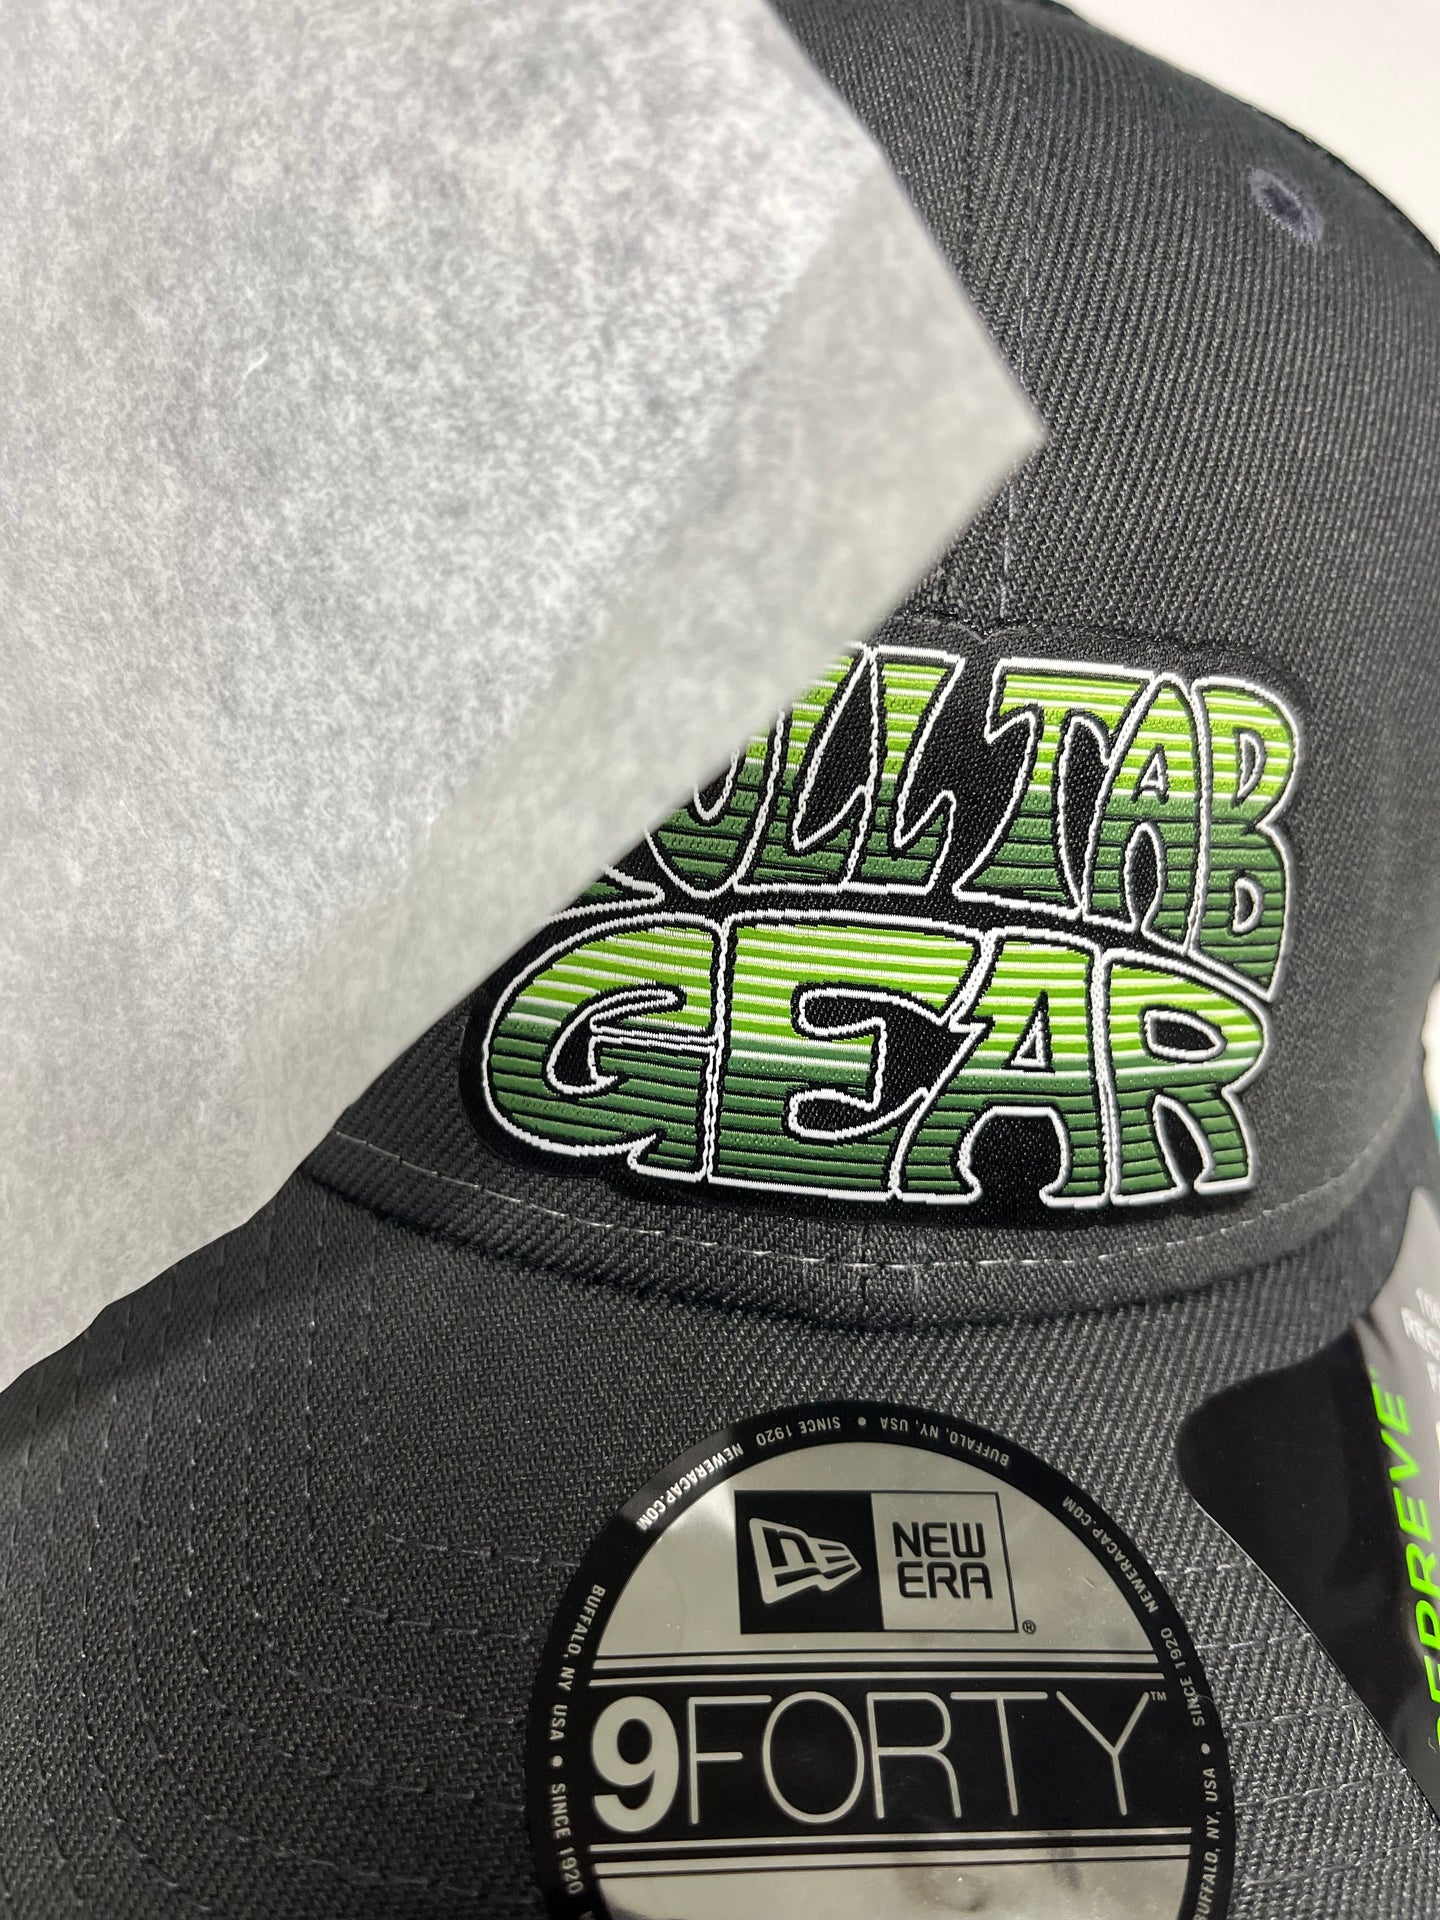
5. After you’ve pressed and feel confident that it’s fixed on the item you’ve chose, lift the parchment and double check that all the edges are pressed down, if you need to press any missed areas, place the parchment again and press the areas that need it firmly.
Note: Iron on patches should not be applied to any material that could melt under high temperatures. If you are applying the iron on patch to any object, you are doing so with the understanding that we will not be held liable for any damage to the item the patch is applied to or the iron if done incorrectly.
- Regular price
- $5.99
